As a video production company, we can’t underscore enough the importance of the audiovisual knowledge required for producing a video project. Generally, when someone doesn’t have a full understanding of how framing, lighting, and audio work, even the most basic DIY videos end up being low-quality and beyond saving for even the most skilled editor. That being said, there are times when you’ll need to appear in front of a camera and you won’t have access to a professional videographer. Sometimes you will have to send video files to someone else so they can be edited. Whether you’re presenting a webinar, filming a video interview, or shooting a short, informal video in the office, here are five basic tips and tricks to remember while recording that will make a world of difference. You might not win any Oscars, but with a little bit of preparation you’ll be able to create an acceptable image on your own.
1. Lock that camera down!
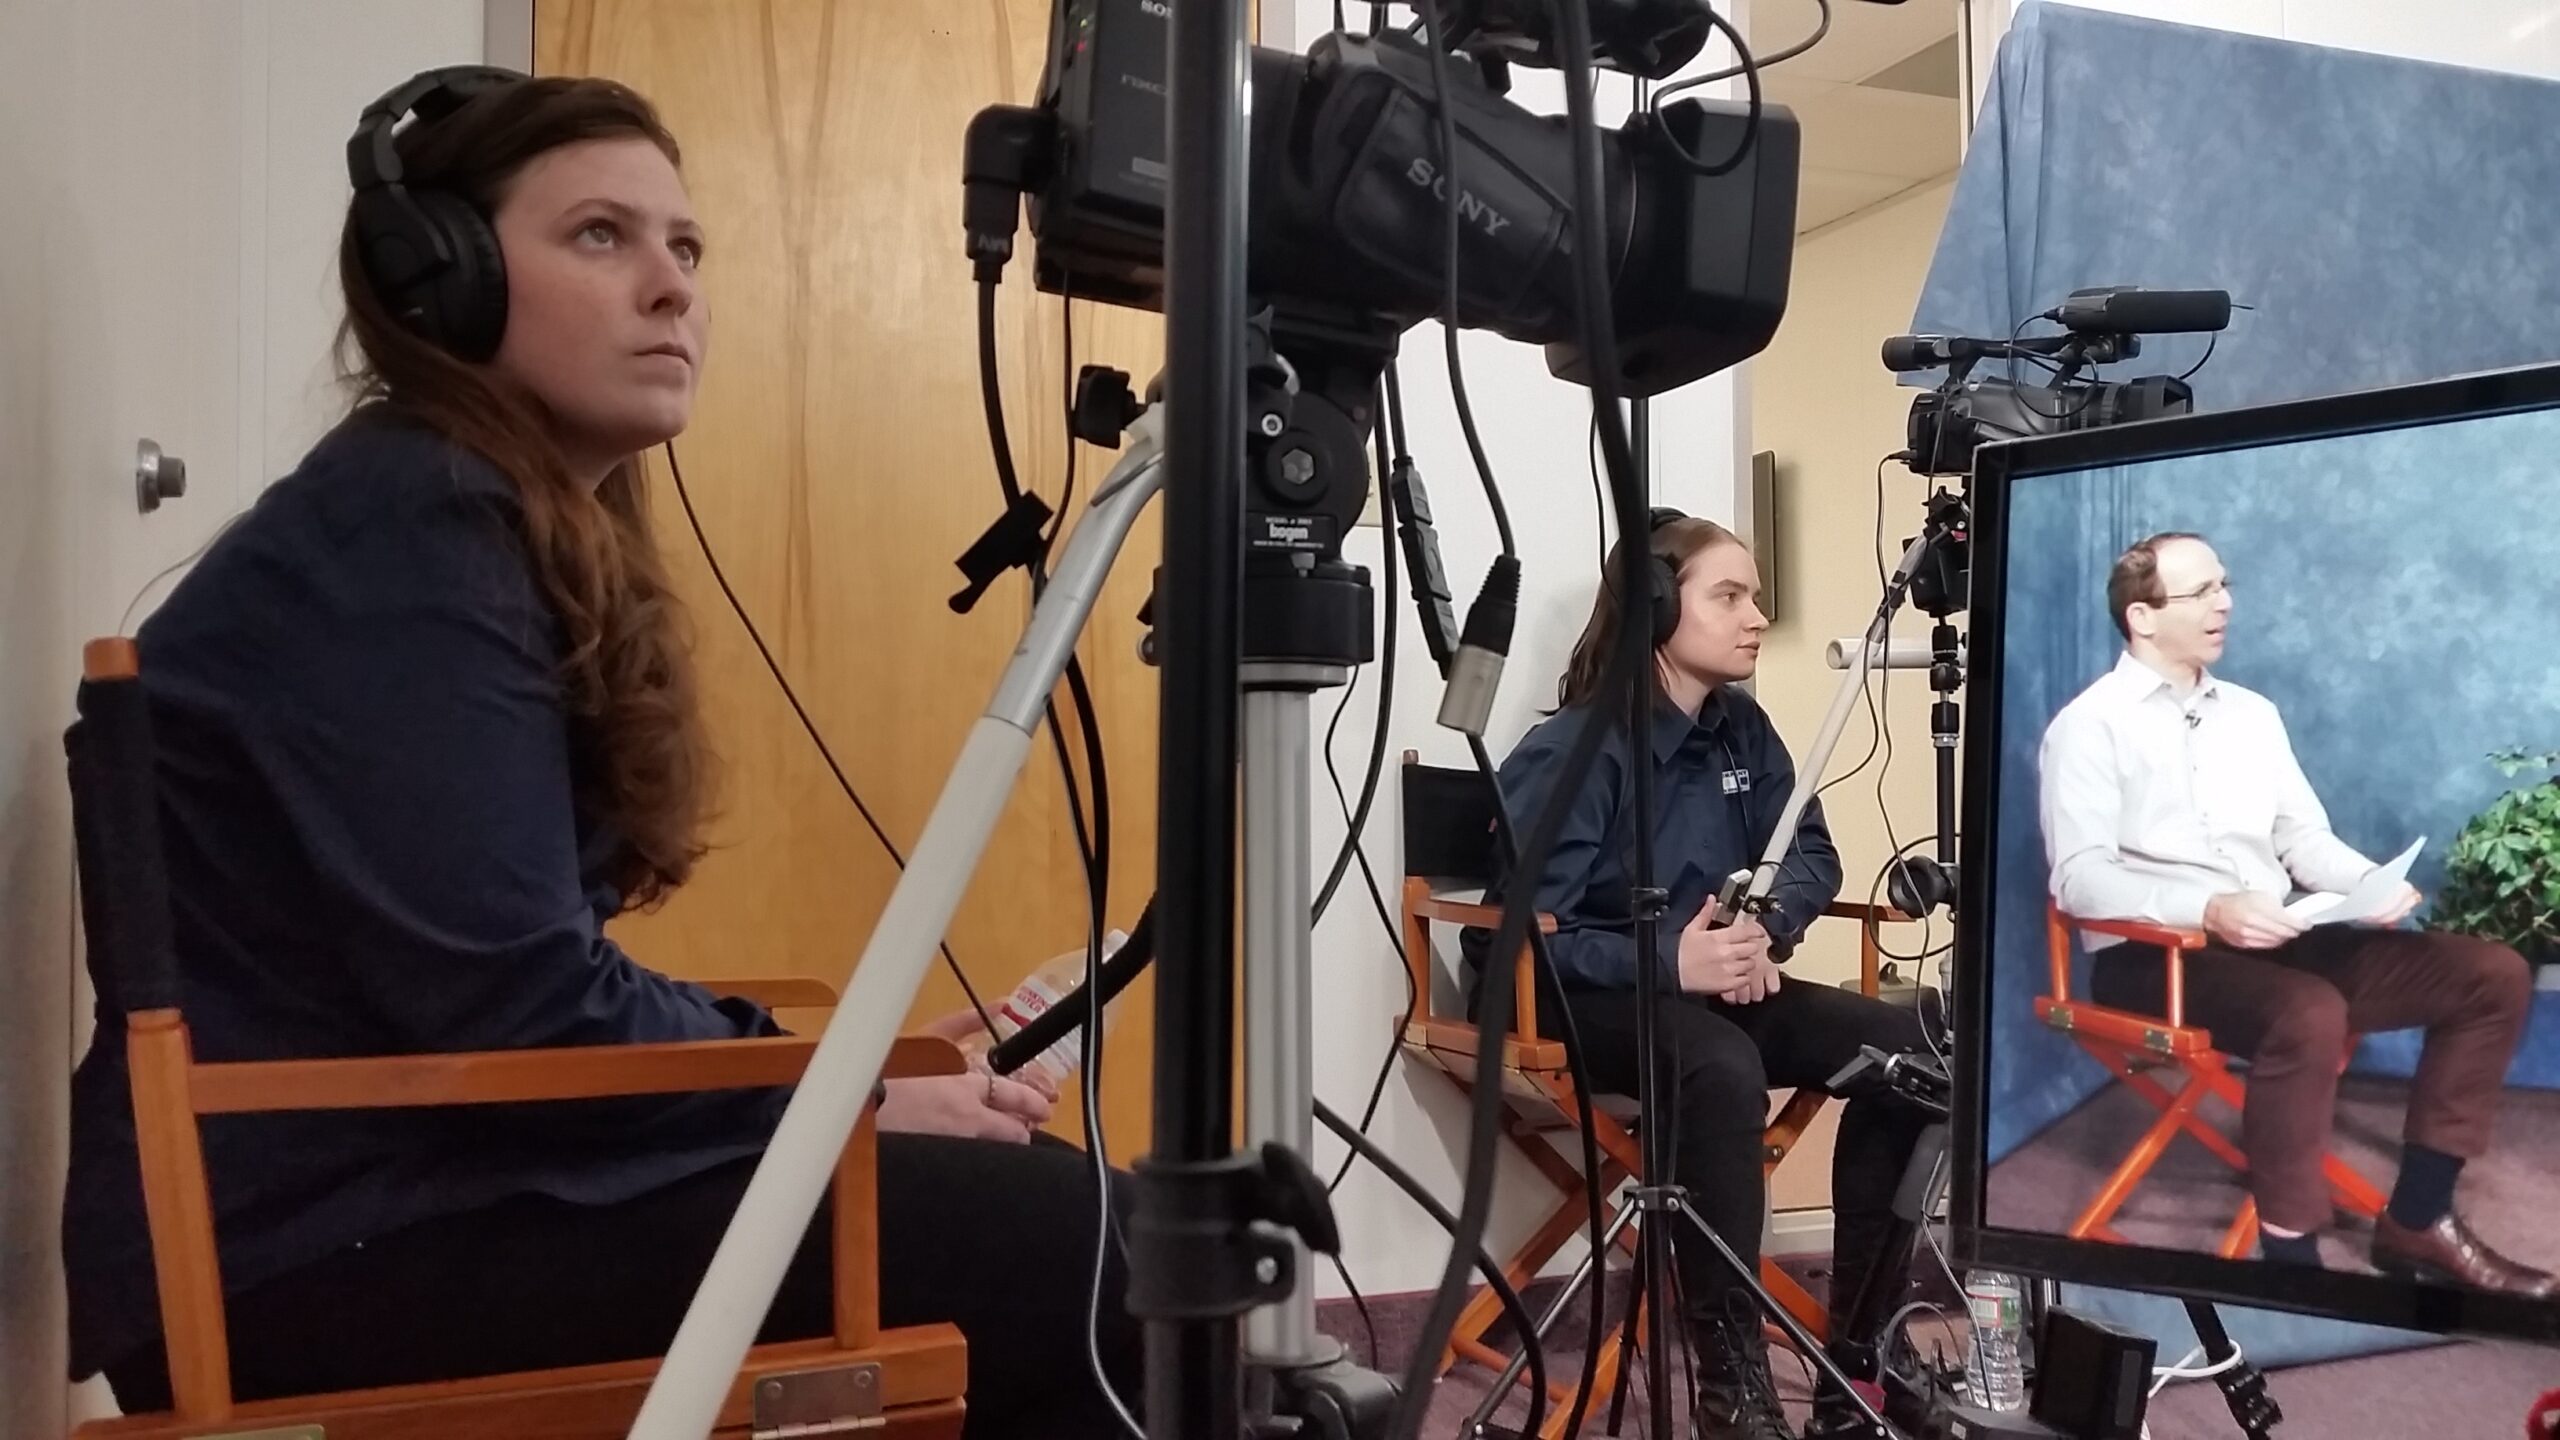
First and foremost, one of the biggest problems we see in self-shot videos is shaky, handheld footage. There are very few people who can effectively hold a camera steady for more than a few moments, and most of them operate Steadicams for a living. If you’re shooting a video entirely on your own, find a way to keep the camera still. Don’t hold the camera at an arm’s length. There are many small and inexpensive tripods on the market that will hold smartphones. In place of a tripod, you can prop the camera up on a desk or stack of books. But the process will be easier if you can enlist the help of a friend, colleague, or family member to monitor the recording. You should still have the phone on a tripod or other stable surface, but your “volunteer” will be able to make sure you’re properly in frame and will be able to cleanly start and stop the recording. If you’re recording yourself with a webcam, make sure the camera is angled properly so that you get a nice “head and shoulders” shot, without too much empty space above your head. And don’t overlook what’s behind you. A blank wall will be less distracting than a messy, cluttered background.
2. Shoot in landscape mode!
While shooting videos on smartphones has increased in popularity over the past few years, one big mistake that people consistently make is shooting in the wrong orientation. People usually hold their phones vertically during everyday use and because of this, they often continue holding their phones the same way to take pictures and videos. Depending on what is being photographed, this can be fine, but videos that are meant to end up online should always be recorded in landscape mode. Videos recorded in portrait mode will fill empty space on each side of the image with black bars, while videos recorded in landscape mode will nicely fit a widescreen player. To shoot in landscape mode, make sure the phone orientation is unlocked before opening the camera. Turn the phone horizontally and then adjust the framing before recording.
3. Record the best audio!
If you think you’ve mastered keeping the image steady and well-framed, the next step is to make sure you’re providing the best audio feed you possibly can. Make sure you’re recording in an optimal environment, i.e. a quiet space without background noise or lots of echo. Your office can be a great option, but be mindful of sounds present outside (busy roads, parking lot) and inside (coworkers, loud machines like printers or air conditioners). Many cameras and phones have built-in microphones, but they can be poor quality and often sound very flat. If you absolutely have to use the built-in mic, this will make the environment you record in even more crucial. Position the phone no more than three or four feet away from you and make sure you are not close to any noise source. If there’s a way for you to use an external microphone instead of the camera’s built-in mic, whether it’s a lavalier mic clipped to your shirt or a shotgun mic attached to the camera, definitely take that option. (Check out the PoP Voice lapel mic, which is designed to work with most mobile devices and can usually be found for under 20 bucks.) If you’re going to be a guest presenter on a webinar, make sure to use a headset to assure clean, crisp audio. Regardless of the configuration you end up with, make sure you play back your video to test the quality of the audio before you send off the file. It’s much easier to shoot another take right then and there, than to find out later that the audio you recorded was unintelligible and you need to re-shoot.
4. Balance the lighting!
Beware of windows. Natural lighting is likely going to be your best friend when shooting, if you’re able to shoot during daylight, but be very cautious of where you are standing in relation to the camera and the light source. Do not stand between the camera and the window. No matter how soft the light appears to you, it will be too bright behind you and will turn you into a silhouette. You want the light source to be in front of you, or off to either side, but definitely not behind you. Natural light coming in through windows, especially on an overcast day, definitely can be the perfect source of lighting, but make sure that you are not standing in the path of direct sunlight, even if it’s coming through blinds—those bright stripes across your face are not very flattering! Sunlight filtered through translucent curtains is also usually ok. Bottom line: you want to avoid both harsh lighting and harsh shadows. If you have to shoot with incandescent or fluorescent lighting, adjust the camera’s “white balance” setting to match the type of lighting in the room.
5. Adjust those camera settings!
While we’re on the subject of camera settings, most smartphones and other small video cameras will allow you to record at different quality levels. Check these before you hit “record”. Make sure that you’re shooting in high definition, preferably at a resolution of 1920 x 1080, or at least 1280 x 720. Additionally, check the frame rate your phone is shooting at: make sure that you’re shooting at 30 frames per second (fps). These two settings will make sure that your video is crisp and smooth. Also, if using a smartphone to film, make sure you’re using the highest-quality camera on the phone, even if it’s not the front camera. It might take a few extra seconds to get up and begin and end the recording, but if the traditional back camera produces better images, then it’s the camera you should be using.
RELATED BLOG POSTS
The Right Questions to Ask Before Recording A Marketing Video
If you’ve decided to take the video plunge you’re certainly in good company. Maybe it’s the first time you’re bringing any sort of video to the table, or maybe you’ve dabbled with it in the past. Maybe the only video content your company has put out is an office Holiday greeting from 2014 that someone shot on their iPhone and uploaded to Facebook. Everybody starts somewhere. Regardless, if you’re not a video expert you probably have a few questions. Read More

How to Use Video In Your Marketing Emails to Boost Click Through Rates
Videos are a significant tool for any company’s marketing plans. They grab the attention of viewers and keep them interested in what you have to say. So it follows that using video in your emails is likely to make greater impact on your audience. But how do you get video into your emails? Read More

Should you be utilizing 4K Ultra-HD for your video needs?
Engaging with the field of videography often means that you’re hearing a lot of technical terms that you may not know the meaning of. One of these terms that’s been gaining considerable traction recently is 4K, or Ultra-HD. Put simply, 4K is a high-definition format that has about four times the resolution (in terms of pixel-count) as 1080p HD, the current industry standard. Because it still isn’t as readily accessible as traditional HD, we’re currently seeing a slow transition phase between the formats as prices and accessibility for 4k viewing and recording become more affordable and efficient. Read More


